Getting Started
Simulator86 is the development environment for hardware
Your First Project

Section titled “Your First Project”Your workspace is split into two main panels: the editor and the diagram.
Forking a project does not require an account, but we strongly recommend logging in so you don’t lose your work once the session ends.
Before making changes, make sure you fork the project or start a new one.
You can only edit projects that you own.
Placing Components
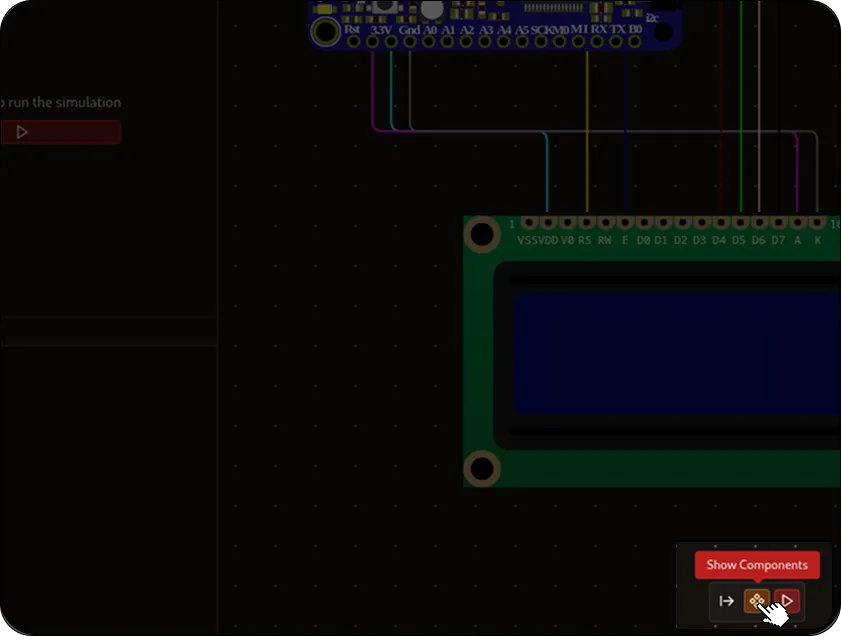
Section titled “Placing Components”At the bottom of the diagram panel, you’ll find the component tray.
Drag and drop any component onto your layout to begin building your circuit.
You can also click the documentation icon on any component to view its implementation details and original datasheet.
Once a component is placed, wire its electrical pins to other components. RF components are pinless: place radios in the same RF Environment instead of drawing a wire.
Building and Flashing
Section titled “Building and Flashing”You’ll need to have your built binaries ready. You can simply click on the build button on the top left corner of the editor.
To flash your program onto an MCU, drag the artifact required by that board into
the component. Most boards take an .elf; the XIAO ESP32-C3 takes a merged
flash .bin.